In an era of increased connectivity, bluetooth beacons have emerged as an important tool in shaping how consumers interact with physical spaces. Beacons are small wireless devices that use Bluetooth Low Energy (BLE) to transmit signals and act as transponders. They can interface with smartphones based on proximity to provide location based services like navigating indoors and acting as enablers to more targeted marketing.
Using beacons allows one to unlock unique experiences. One such experience was with our client Meow Wolf, who specialize in immersive art experiences and interactive exhibits. Meow Wolf wished to build an app with an immersive and quirky user experience that led us to use Flutter as the framework of choice. Flutter allowed us to build a single UI that worked seamlessly across both platforms. The app also allowed its users to discover content while visiting different parts of their exhibits. This paved the way for us to work with beacons, particularly in scenarios where specific content is unlocked based on the user’s location within the exhibit.
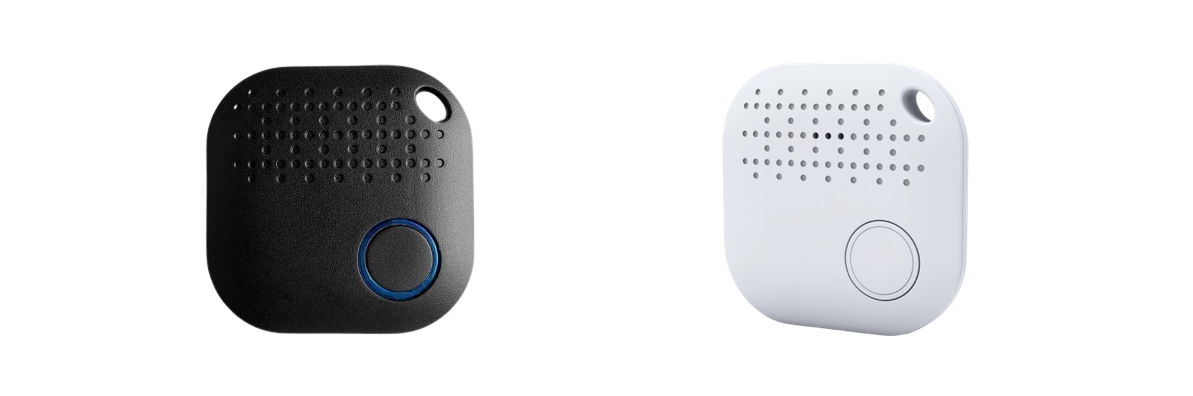
Beacons
When working with beacons there are typically 3 main standards:
iBeacon
It’s been the most popular standard for beacons since Apple introduced it in 2013. iBeacon essentially has a layout that allows for 5 components:
- UUID: This UUID is a requirement for every beacon to be able to be ranged.
- Major Id: This is an optional integer used to group multiple beacons.
- Minor Id: This is an optional integer that is used to identify a beacon within the context of a UUID/major id group.
- Proximity: This is contains values like Immediate, Near, Far and Unknown which reflect the closeness of a beacon retrofit into buckets.
- Accuracy: This is value that depicts the approximate distance between the receiver and the beacon.
Eddystone
This has been a standard built by Google that supports richer information to be transmitted via beacons. This beacon layout has the following information encoded:
- UID: This is similar to the iBeacon format and is a unique 16-byte Beacon ID.
- URL: This is a data point that can be transmitted from a beacon and would enable for a richer experience, like this url could allow recipients to probably visit it and invoke different flows.
- TLM: This section contains telemetry information like battery information, meta information like number.
- EID: This represents a more privacy oriented identifier which changes periodically at a rate determined during initial registration. It can be resolved only by the webservice with which it was registered for others it would appear to be changing randomly.
AltBeacon
This was the more recent standard developed by Radius Networks to consolidate BLE beacon specification. The layout for this contains the fields below:
- Beacon Code: This is typically used to distinguish a type of beacon, more synonymous to being able to group/categorize a beacon.
- Beacon Id: This is an identifier similar to the UID’s used in the other two formats to identify a particular beacon.
- RSSI: This is a signal strength indicator and denotes the average received signal strength at 1m from advertiser.
While iBeacon is a proprietary standard, it has the benefit of being easily integrable within the Apple ecosystem and which also it a lot battery efficient devices. AltBeacon and Eddystone on the other hand offer more configurable and richer data.
For Meow Wolf, we found that iBeacon had better support on Flutter than the other protocols, In particular we used the Flutter Beacon package that allowed us to access iBeacon APIs in a consistent manner across the board.
Meow Wolf User Journey

During a typical app experience, when a user opens the app we register geofences for different exhibits. When we receive a geofence entry, we turn on scanning for beacons around the user. Any beacon detected unlocks a corresponding content within the app. Once a user exits the geofence we stop scanning for beacons. This represents the most critical journey within the app. However, there were quite a few challenges to work with it, let’s take a look at some of them.
During a typical app experience, when a user opens the app we register geofences for different exhibits. When we receive a geofence entry, we turn on scanning for beacons around the user. Any beacon detected unlocks a corresponding content within the app. Once a user exits the geofence we stop scanning for beacons. This represents the most critical journey within the app. However, there were quite a few challenges to work with it, let’s take a look at some of them.
Flaky Geofences
When we were testing, we found that geofence events were a bit unreliable. On occasions we received geofence entries but not exits. On others, the events were delayed. Considering our user journey involved scanning beacons based on timely events, it was imperative for this to be a bit more deterministic. Furthermore, geofence exits also turned off scanning so as to not drain the battery. To address these issues, we added a floating timeout feature for scanning along which incremented whenever as long as a beacon was seen in the vicinity. This ensured we never prematurely stopped the beacon scanning. In order to address geofence delays, we marked certain checkpoints within the app where we queried the user’s location synchronously and verified if they were at an exhibit. This provided a more consistent experience in the presence of delays.
Beyond these considerations, implementing geofence support is still a bit tricky. While there are libraries that allow geofencing, they aren’t battery efficient. In fact, most of them register location updates and manually calculate geofence hits. Using these APIs result in significant battery drain as opposed to using native APIs to register geofences. We ended up using method and event channels to facilitate native geofencing.
Signal vs Noise
When detecting beacons, one of the key elements is to be able to filter out noise. Noise could stem from multiple reasons, for example when the user is in an exhibit in a particular section, they may get a stronger signal from the adjacent room for a short span. In order to reduce noise we added the following 3 layers
- Sampling: While the underlying library did a good job of averaging out and preprocessing samples it detected to reduce this noise, we still needed more sampling so we ended up using mode within a sampling interval. The proximity bucket was used to determine the mode and the accuracy/distance was averaged out. For example, the following emissions
| T1 | T2 | T3 | T4 | T5 |
|---|---|---|---|---|
| Proximity= Near, Accuracy = 2 | Proximity= Near, Accuracy = 1.5 | Proximity= Far, Accuracy = 4.5 | Proximity= Far, Accuracy = 4 | Proximity= Near, Accuracy = 2 |
would be reduced to Proximity = Near, Accuracy = 1.83.
- Closest Beacon Criteria: Instead of allowing all detected beacons to unlock all content, we ensured that only a single beacon which was the closest would unlock the content. This meant that although other beacons were in the vicinity, only the closest beacon could be used to ascertain the user’s position.
- Warm Up Period: While the closest beacon criteria ensures only the nearest content is unlocked, however considering the setup in an exhibit where there are a lot of beacons even within a single room could still cause a slightly erratic behaviour. We decided to add a “warm up” duration which was basically a time frame until which the a newly detected beacon which was closest could not upstage the previous closest beacon. In other words if the warm up period was 2 seconds, then the closest beacon right now had to be the closest beacon for another 2 seconds in order to unlock content.
Debugging Hot Flows
Debugging beacons is riddled with its own set of challenges, for starters the rapid flow of data being processed make state assertions difficult it not nearly impossible to debug retroactively. To address this, we decided to log specific data into a log file stored locally which can later be shared to ascertain the state of the app when the bug occurred.
The second part of being able to debug hot flows was to write a lot of tests against all of the layers of beacon processing logic. This resolved a lot of bugs early on which would otherwise have been difficult to iron out later. Isolating platform beacon dependencies and writing integration tests allowed us to reproduce client states with the data received from log files.
Platform Differences
While we did use well supported flutter libraries, we ran into inconsistencies between both iOS and Android around beacon scanning. For starters, the accuracy/distance reported by Android and iOS was never consistent. Given a single beacon at the same distance from both devices, the iOS reported a more accurate distance than Android. We tried tweaking the formula but had little luck with the same. We ended up relying on the proximity buckets (immediate, near, far) instead of the true distance for most of the processing layers.
When scheduling timeouts, we encountered problems with Dart timers behaving unexpectedly on Android, as they did not properly time out. Upon further investigation, we determined that this was because Android 13 introduced a new scheduling permission requirement that had not been granted.
Conclusion
Working with beacon ranging is tricky, you not only have to deal with BLE issues but also underlying platform nuances. However using the right trade offs, you can build richer experiences without shooting yourself in the foot. Thanks for sticking around, I hope you found this useful. If you have any further questions, feel free to reach out to me on twitter via @anv1th.